
The Service page lets users with administrative privileges easily remove inactive or invalid accounts and service records from the system. For services with active endpoints, it is recommended (but not required) that they be unprovisioned before this procedure is performed. When completed, the Monitor page card for the account will be removed permanently.
The act of deleting a service only removes the association between meter, account and location. Flow data and other information pertaining to the meter and endpoint remain in the system.
NOTE: Proceed with caution – This action is permanent and irreversible. It cannot be undone!
-
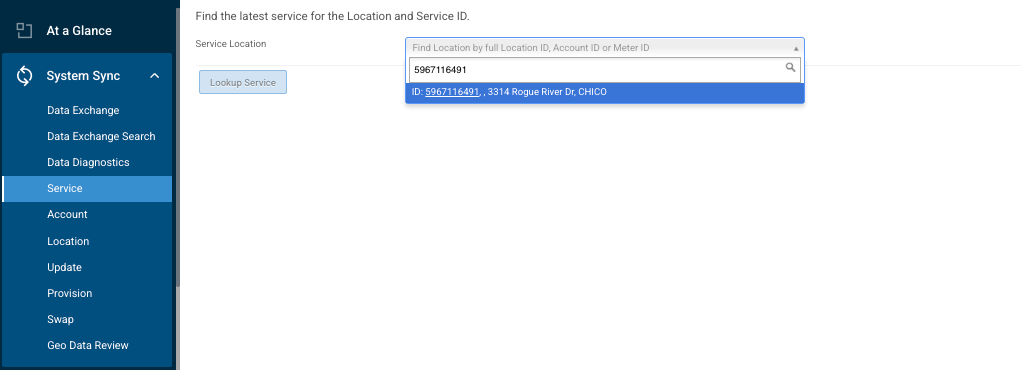
- Choose System Sync>Service tab.
- Click the drop-down menu, and enter three or more characters of one of the following.
• Location ID
• Account Name
• Account Location
TIP: If you cut and paste a Location ID, name or address from a spreadsheet, be sure to remove any extra spaces that come before or after the actual characters of interest before pressing enter.
- Select the location you want to remove from the system.
- If the location has more than one service point, select the Service Point ID from the drop-down menu.

- Click Lookup Service.
- Verify that the account is really the one you want to delete by doing one of the following:
• Cross reference the Location ID and Meter ID displayed in the card with other records.
- Click the Location tab on the card to compare the Location ID.

- Click the Meter tab on the card to compare the Meter ID.

If the location includes multiple service points, verify that you have selected the correct Service Point ID.
- If you are certain you selected the correct service record, click the red Delete Service button.
- If you selected the wrong service record, click the blue Lookup Another Service button and repeat Step 1.A popup menu asks you to confirm that you want to proceed.

- Click the red Delete Service button to delete the service record. A confirmation of the service deletion is displayed.

- To remove another service record, click the drop-down menu and repeat Step 2.


