
From the Staff page a user with the correspoding permissions can:
- View, manage and export lists of Utility Staff users, along with:
- Their status and user roles (green dot = active, blue dot = pending)
- Their Assigned Filter
- The date/time of their last activity (No Recent Activity = the user has not logged in for three months)
- The date their BEACON account was created.
- Invite users to create BEACON Logins.
- Assign predefined roles and customized roles and permissions to utility staff and guest users.
- Assign and manage Access Filters.

To personalize your staff listing, use your BEACON sign-in email address and upload a picture here.
Click Export to download a list in CSV format of all Utility Staff members. The list includes their:
Full Name
Status
Roles
Email address
Date they were added to the system
Date Updated
Timezone
User Name
Mobile access status
Assigned Filter
User Creation Method (see table)
| User Creation Method | Description |
| BEACON Invite | Invited to use BEACON by an Admin user via Users page>Staff tab>New User. |
| API | SSO user created by Badger Meter personnel. |
| Ap_Onboard | Accounts Payable User created by Badger Meter personnel during initial setup. |
| Onboard | Owner created by Badger Meter personnel during initial setup. |
| SAML | SSO User. |
Invite New Users

Click New User and follow the steps below to invite a staff member to create a BEACON account.
TIP: Users who need access to both BEACON and EyeOnWater must use unique email addresses for each system. If someone has a gmail account, they can easily add a “label” to the email address so that, for example, name+utility@gmail and name@gmail can be used to log in to BEACON and EyeOnWater, respectively.
- Enter the user’s full name, email address (required) and, if desired, phone number.
- Use the drop-down menu to choose the desired role(s). Predefined roles include Admin, Support, Installer and Manager. Users can have multiple Roles. Custom Roles created using the Roles tab will also be displayed. The table below describes the permissions granted to each predefined role.
- Click Invite User to complete the process. Click Cancel to start over.
Search Staff
Start typing in the box. The system will auto-fill based on the first two characters entered.

Use the drop-down menu to filter results by Status, Roles, Special Role Filter Set and Disabled.


Removing Staff Users
When a staff member leaves your company or you simply wish to remove their access to BEACON, do the following:
-
- On the Staff page, locate the user of interest by typing their user name in the search box.
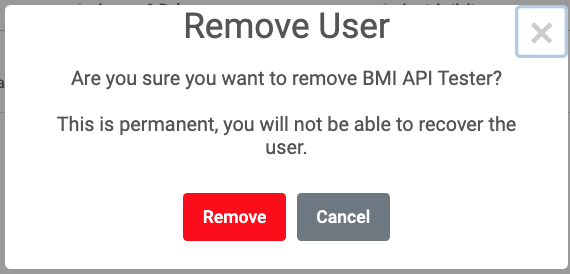
- Locate the user if interest, click the three dots, and select Remove User.
- Use the drop-down menu on the right to select Remove User.

- Confirm your choice by clicking Remove User in the popup menu.


